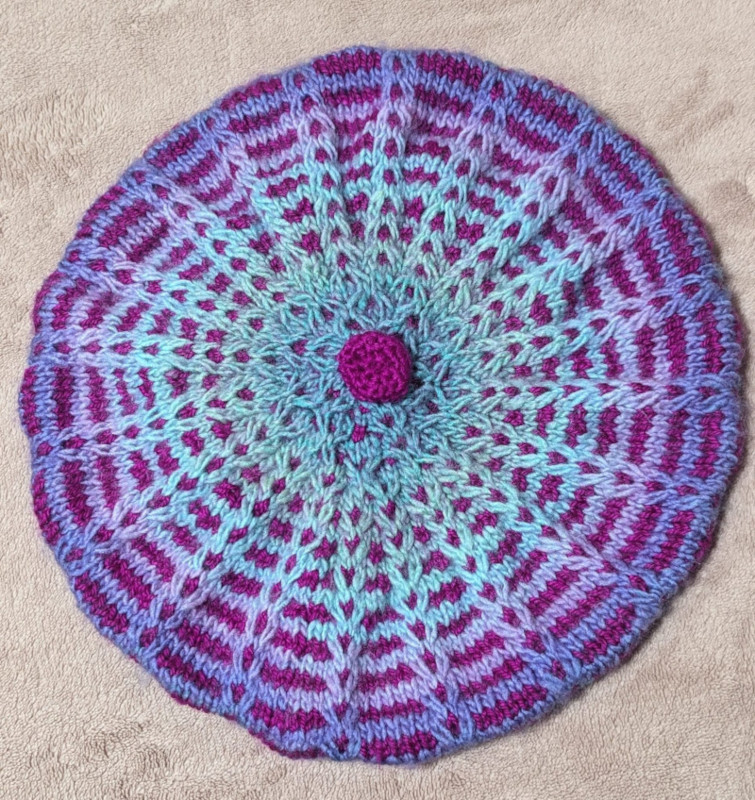
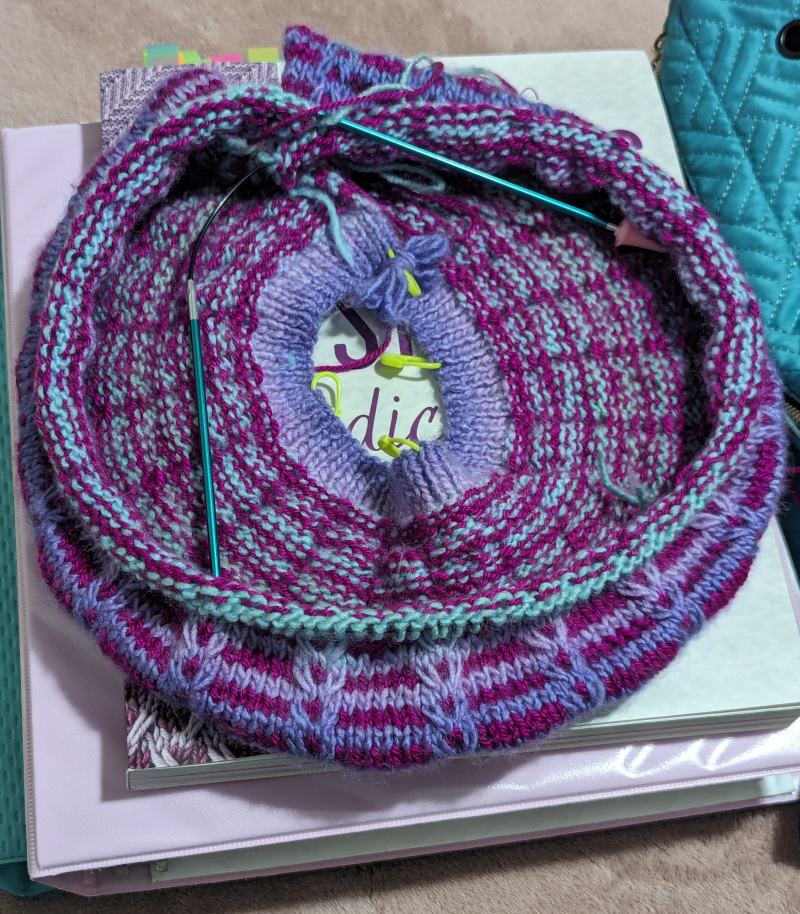
Melody Mosaic Knit Cabled Beret (Complete Pattern)
The tools and stitch counts are all calculated to create a beret that fits adults with Medium to Large head sizes.
What Is Needed
- Size 2.0mm knitting needles
- Size 3.25mm circular knitting needles
- 2 balls DK weight yarn – 2 contrasting colors (145 yards of dominant color and 138 yards of secondary color, these are minimums)
- Darning needles, 1 medium/large and 1 small
- Crochet hook – Size C or D
Using the dominant color (which we will refer to as Color A) and the 2.0mm knitting needles, cast-on 120 stitches plus 2 selvedge stitches, for a total of 122 stitches.
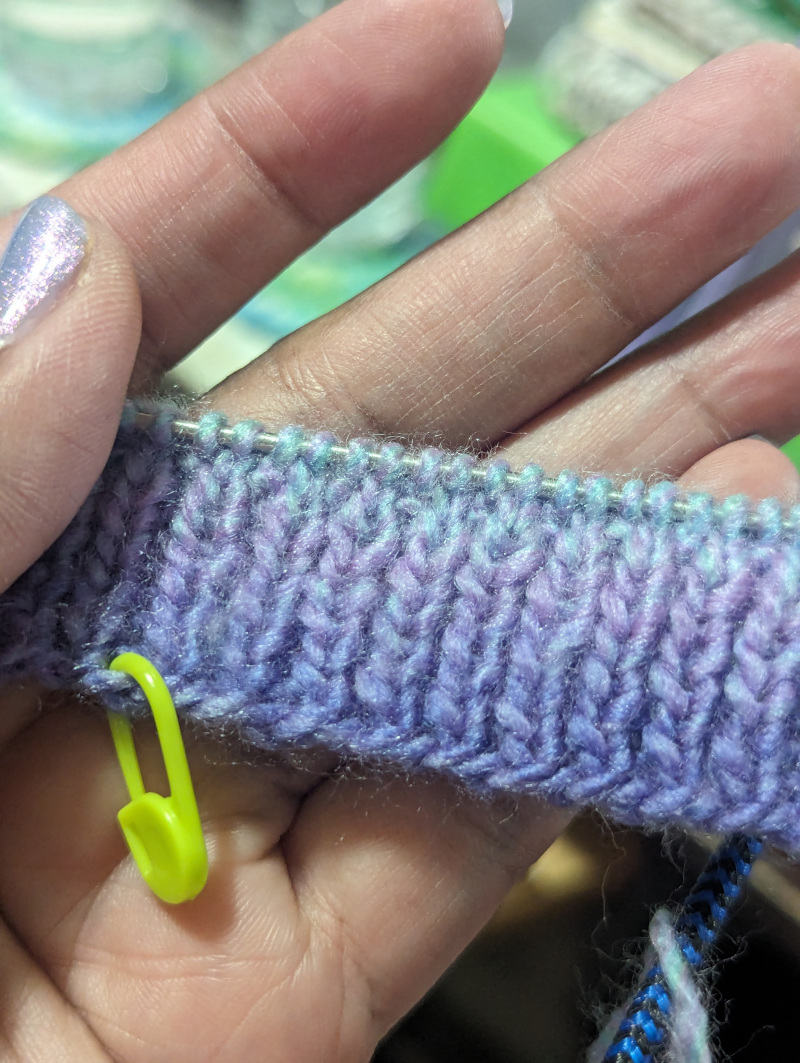
Creating a 1x1 Rib approximately 1” Deep
Start the first row with 2 knit st, 1 purl; then 1K, 1P* repeat. If the correct amount of stitches were cast-on, the row will end with 1P, 1K. Selvedge stitches must always be a knit; so, every row will be begin with 2 knit stitches and ending with 1P and 1K.
Continue this pattern for 8 rows. This should be 1” if you are using the right weight yarn and needles.
After finishing the 8th row, switch to 3.25mm circular needle; Knit 1, Purl until you reach the last stich, then knit 1.
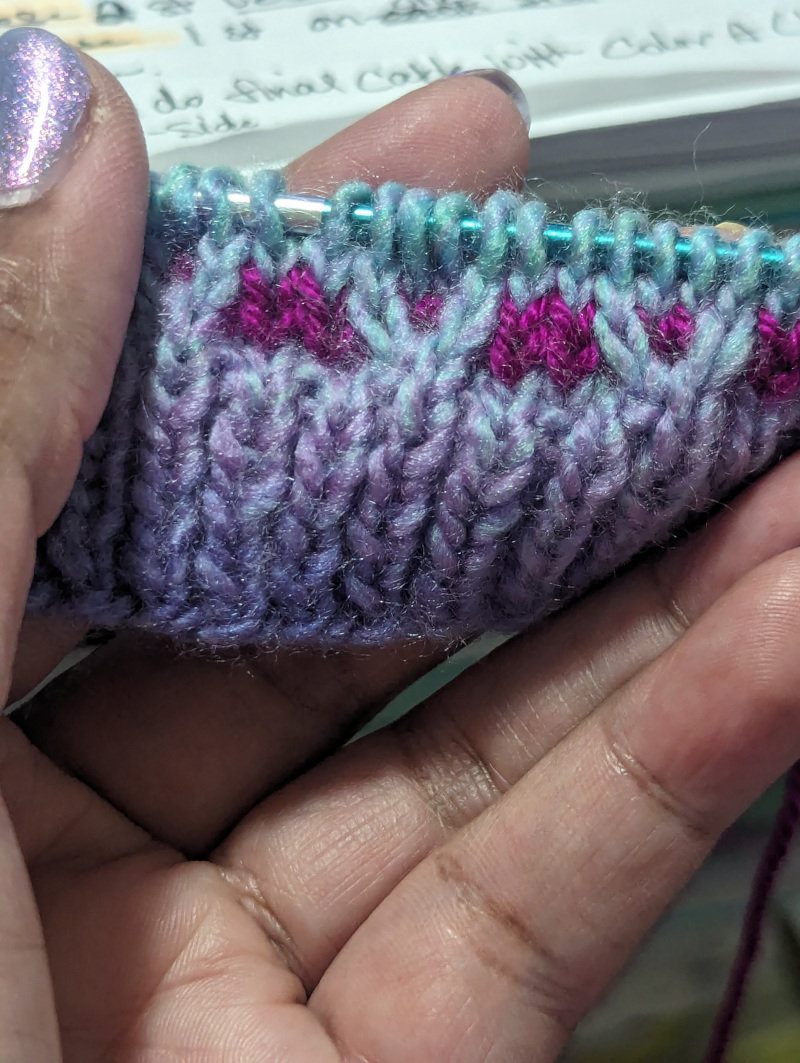
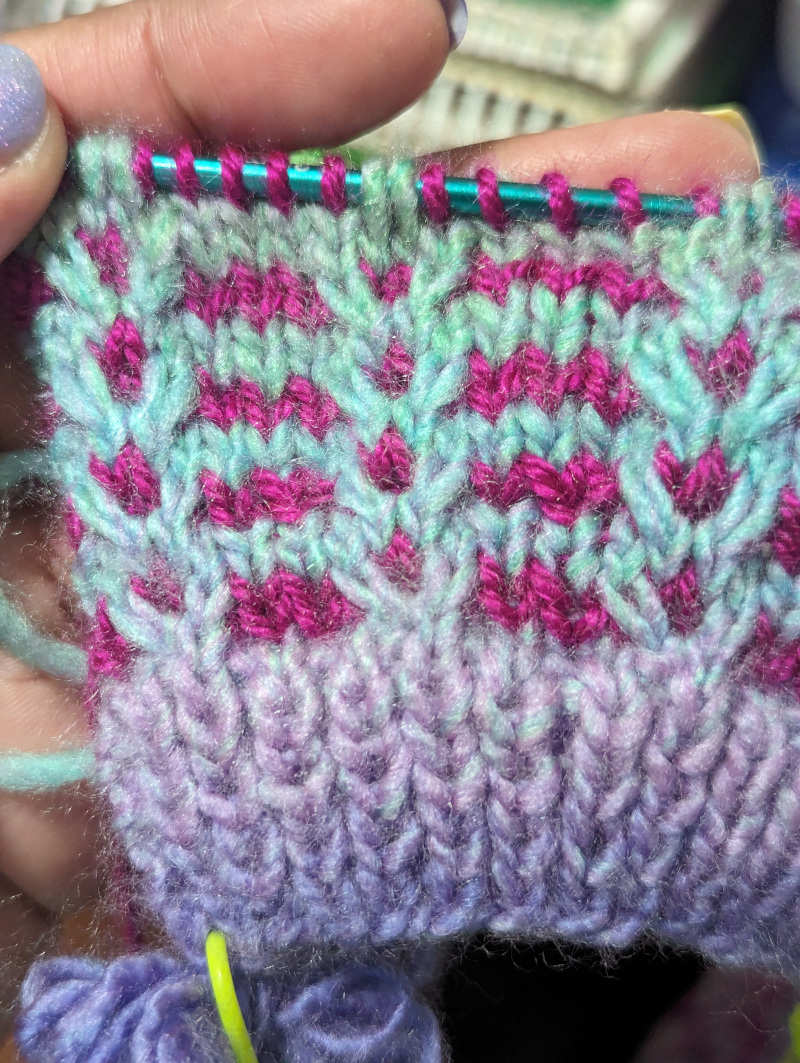
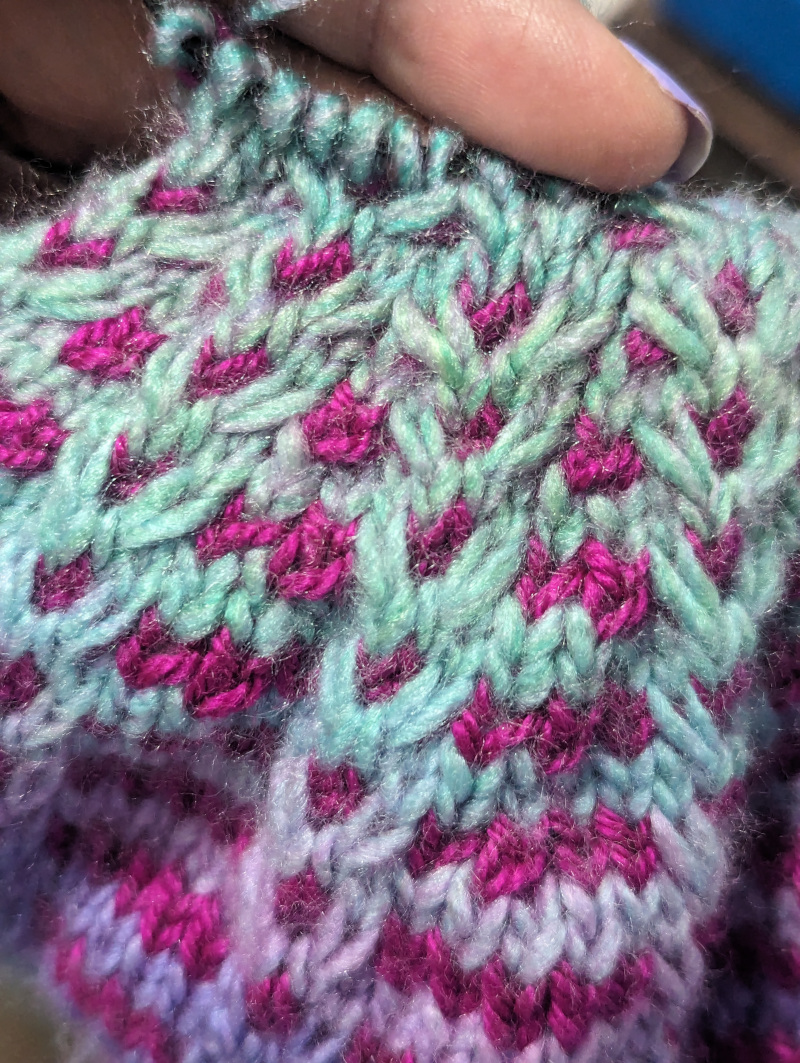
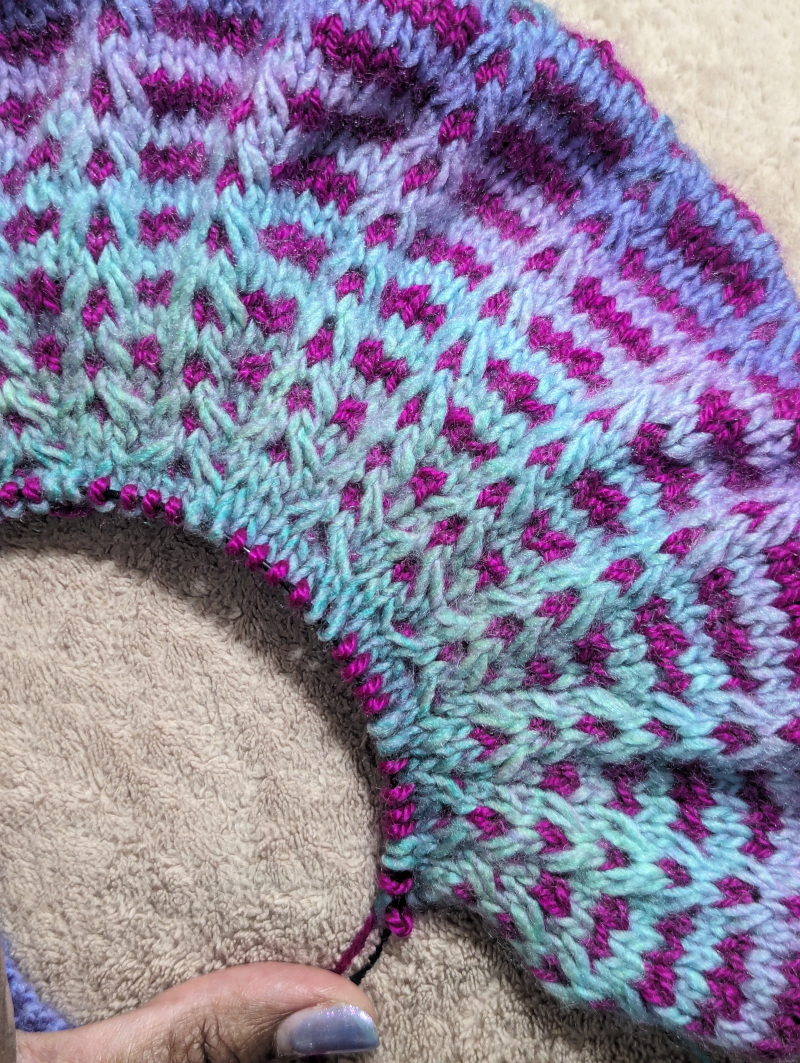
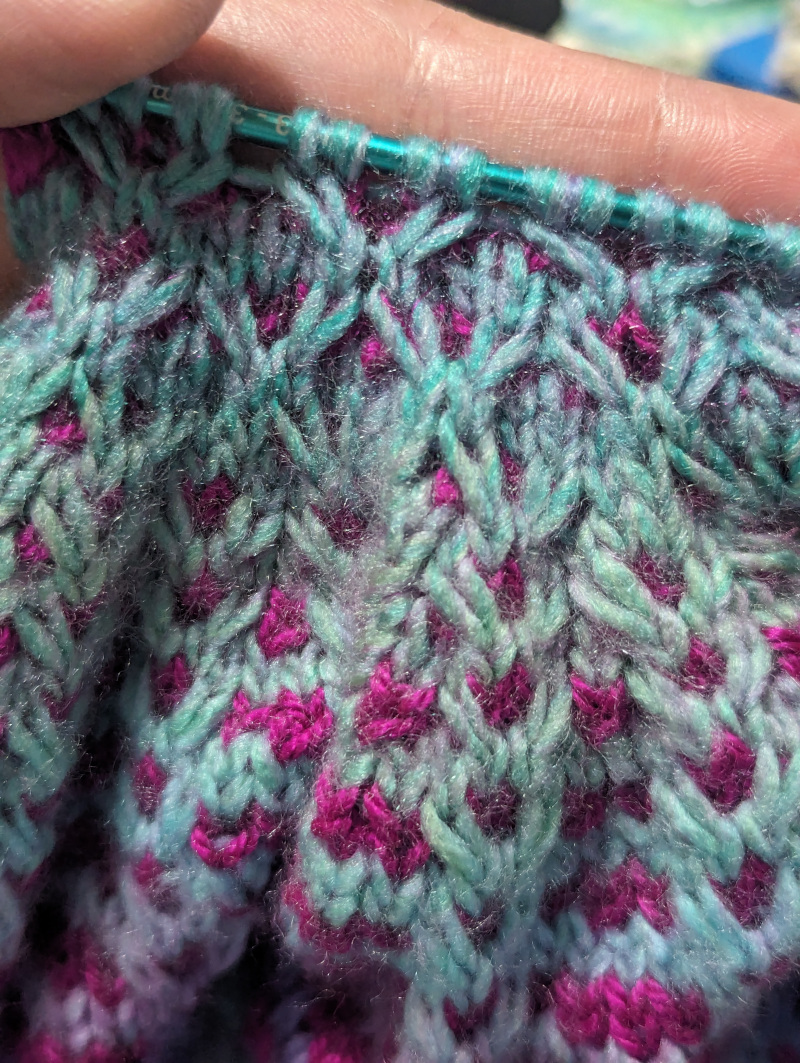
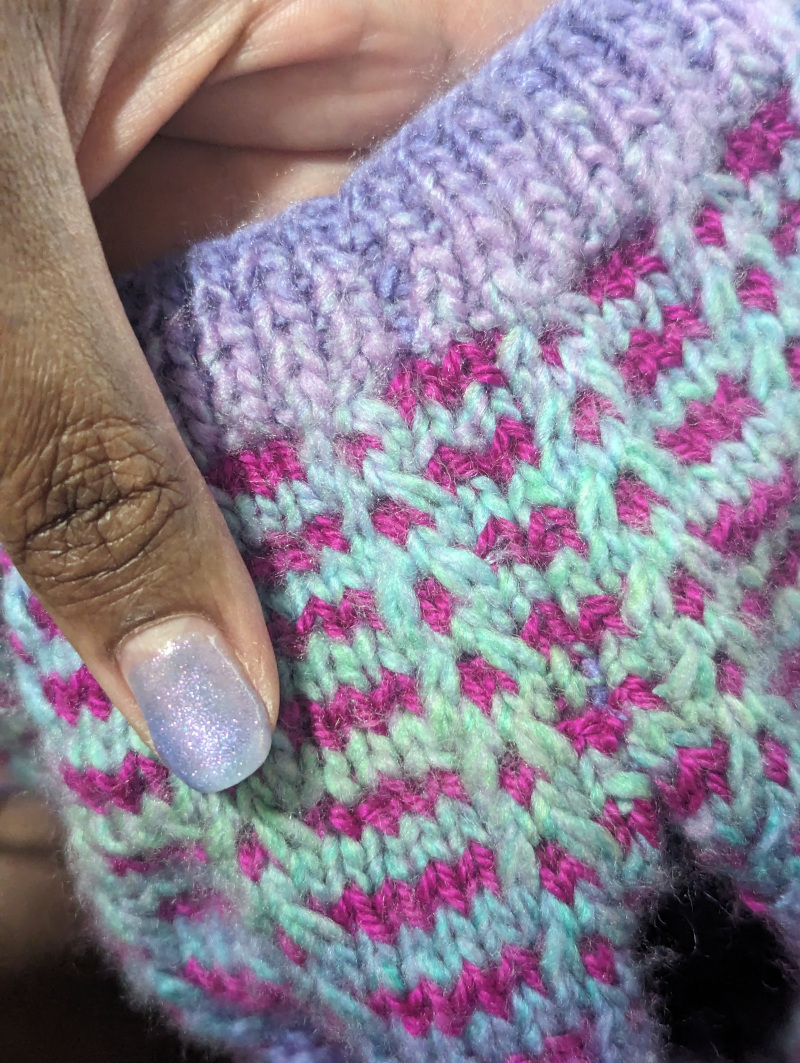
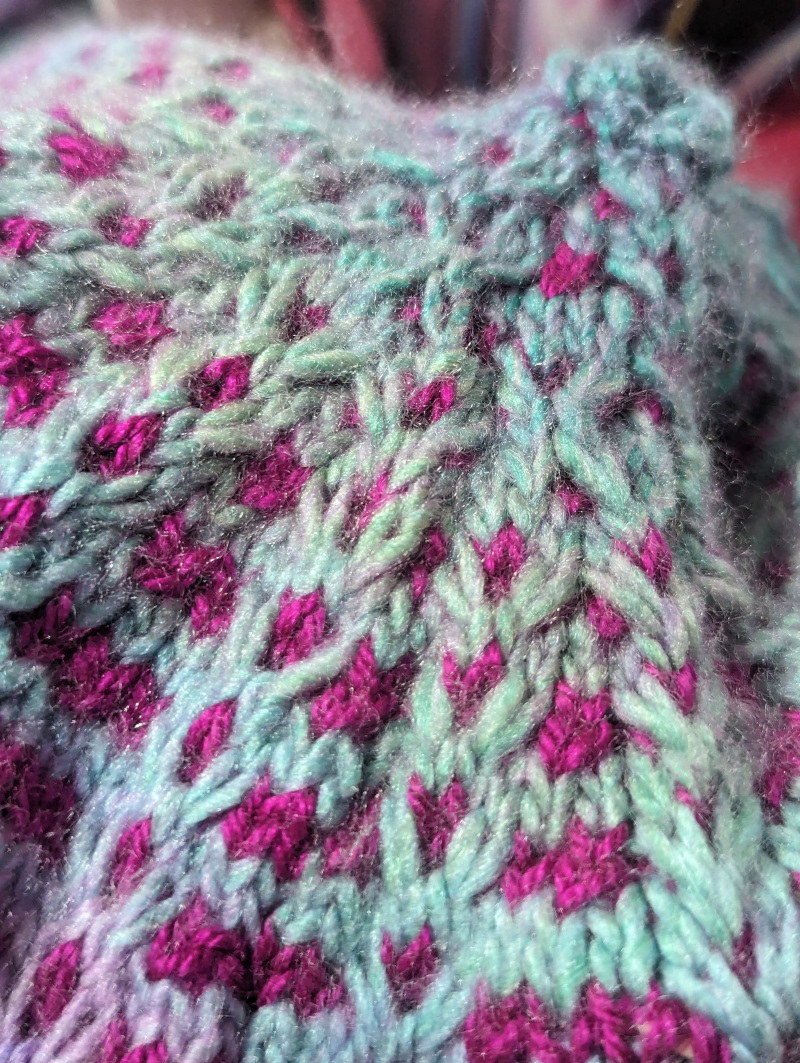
The Mosaic Cable Pattern
The original unaltered stitch pattern can be found on page 150 of The New Knitting Stitch Dictionary by Lydia Klös.
The altered pattern
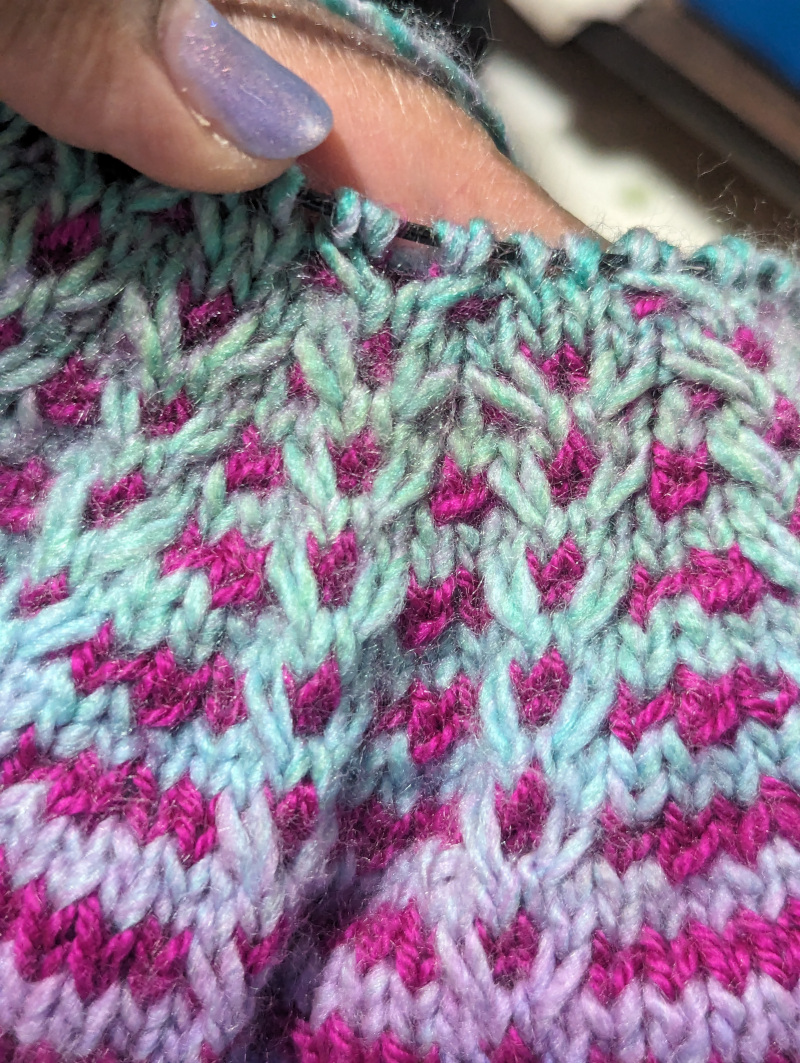
Row 1: It begins with the secondary color (which we will refer to as Color B), knit 3, slip 2; then *knit4, slip 2, *repeat. Finish the row with knit 3.
Row 2: Knit selvedge stitch, purl 2; *slip 2, purl 4, *repeat until the final slip, then purl 2, knit selvedge stitch.
Row 3: Using color A, knit 2; the first part of the cable: slip the next 2 stitches (one should be color B, the other color A) and move color A forward, place color B back on the left-hand needle, then place color A back on the same needle. The 2 colors should be crossed, with color B on the inside back and color A outside front, now you can knit both stitches as usual. The second part of the cable: Slide the next 2 stitches onto the right-hand needle (one should be color B, the other color A), put the left-hand needle under color A and slide it and color B off the right-hand needle, then place color B on left-hand needle. The 2 colors should be crossed, with color B should be on the inside, behind color A, which should be on the outside front; so, crossed over color B. Knit both stitches as usual. *Knit 2, work the cable pattern; *repeat this pattern till you end the row with knit 2.
Row 4: Knit selvedge, purl until you reach selvedge, then knit selvedge.
You will repeat rows 1, 2, 3, and 4 to create the pattern with a slight change in the number of stitches after increasing and then decreasing the number of stitches, between the cables and also at each end.
All increases will take place on row 2 with color B of the mosaic cable **pattern (purl side). So, the row before the actual cabling of the pattern takes place.
**The use of color B on the knit side/right side denotes the start of the mosaic cable pattern, and the pattern will be increased and later decreased on the purl-side between the patterns on most rows, or on both ends (after knitting the selvedge stitch) and also between patterns.
Pattern Increases
First Increase:
On the 2nd **pattern, repeat Row 2 with the following alteration - After knitting the selvedge stitch, purling 2, and slipping 2 (color A); *purl 2, then purl the front and back of the next stitch on the right-hand needle, then purl 1, slip 2; *repeat this pattern until the last slip of 2 (color A) stitches, then purl 2 and knit the selvedge stitch.
Lastly, count the color B stitches between each pattern. There should be 5. On each end, there should still be 3 color B stitches.
Just remember, when you work the following Row 3 and subsequent rows you will be adding one extra stitch to each section.
Second Increase:
On the 5th **pattern, repeat Row 2 with the following alterations - After knitting the selvedge stitch, purl the front and back of the next stitch on the right-hand needle, then purl 1, slip 2 (color A); *purl 2, then purl the front and back of the next stitch on the right-hand needle, purl 2, slip 2; *repeat this pattern until the last slip of 2 (color A) stitches, then purl 1, purl the front and back of the next stitch on the right-hand needle, purl 1, then knit the selvedge stitch.
Before beginning Row 3 of the pattern, count the color B stitches – there should now be 6 color B stitches between each pattern and 4 color B stitches at each end
Third Increase:
On the 8th pattern, repeat the Second Increase (above), keeping in mind the additional stitch.
At the end of this row 2, there should be 7 color B stitches between each pattern and 5 color B stitches at each end, when you finish the row.
This was the final increase.
Repeat the rest of the pattern as usual until you reach the purl side of the twelfth pattern.
Pattern Decreases
First Decrease:
On the 12th **pattern, repeat Row 2 with the following alteration – knit selvedge stitch, purl 2 stitches together, purl 2, slip 2 (color A); *purl 2, purl 2 stitches together, purl 3, slip 2 (color A), *repeat this pattern until the last slip 2 (color A) stitches, then purl 2, purl 2 stitches together, and knit the selvedge stitch.
Lastly, count the color B stitches. There should be 6 stitches between each pattern, and 4 stitches on each end.
Just remember, when you work the following Row 3 and subsequent rows you will be deducting one stitch from each section.
Second Decrease:
On the 13th **pattern, repeat Row 2 with the following alteration – knit selvedge stitch, purl 3, slip 2 (color A); *purl 2, purl 2 stitches together, purl 2, slip 2 (color A), *repeat this pattern until the last slip 2 (color A) stitches, then purl 3, and knit the selvedge stitch.
Lastly, count the color B stitches. There should be 5 stitches between each pattern, and 4 stitches on each end.
Third Decrease:
On the 14th **pattern, repeat instructions for the First Decrease, keeping in mind the current stitch counts.
Finish by counting the color B stitches. There should be 4 stitches between each pattern, and 3 stitches on each end.
Fourth Decrease:
On the 15th **pattern, repeat instructions for the Second Decrease, keeping in mind the current stitch counts.
Finish by counting the color B stitches. There should be 3 stitches between each pattern, and 3 stitches on each end.
Fifth Decrease:
On the 16th **pattern, repeat instructions for the First Decrease, keeping in mind the current stitch counts.
Finish by counting the color B stitches. There should be 2 stitches between each pattern, and 2 stitches on each end.
At the end of Row 4, after the fifth decrease, the cable patterns will be side by side. The Row 1 after this will be as follows: Using color B, *knit 2, slip 2 (color A); *repeat to the last slip 2, and knit 2.
Sixth Decrease:
On the 17th **pattern, repeat instructions for the First Decrease, keeping in mind the current stitch counts and knitting the first 2 and last 2 stitches together for the selvedge.
Finish by counting the color B stitches. There should be 1 stitch between each pattern, and 1 stitch on each end.
The following Row 3 will start with *the first part of the cable, the second part of the cable, knit 2; *repeat and finish with knit 3.
Complete Row 4 as usual.
The following Row1 will be almost identical to the very first row 1 of the pattern: Using color B, knit 3, *slip 2 (color A), knit 4; *repeat until last slip 2, then knit 2.
Seventh Decrease:
On the 18th **pattern, knit selvedge stitch, purl 1, *slip 2, purl 2 stitches together, purl 2 stitches together; *repeat until the last slip 2, then purl 2 stitches together, and knit 1.
The following Row 3, using color A, knit 1, *the first part of the cable, the second part of the cable; *repeat, end the row with knit 1.
Complete Row 4 as usual.
The following Row1 will be almost identical to the very first row 1 of the pattern: Using color B, knit 4, *slip 2 (color A), knit 4; *repeat until last slip 2, then knit 6.
Eighth Decrease:
On the 19th **pattern, knit 2 stitches together for selvedge stitch, purl 2 stitches together, purl 2 stitches together, *slip 2, purl 2 stitches together, purl 2 stitches together; *repeat until the last slip 2, then purl 2 stitches together, and knit 2 stitches together for selvedge stitch.
The following Row 3, using color A, knit 1, *the first part of the cable, the second part of the cable; *repeat, end the row with knit 2.
Complete Row 4 as usual.
The following Row1 will be almost identical to the one following the 7th decrease: Using color B, knit 4, *slip 2 (color A), knit 4; *repeat until last slip 2, then knit 3.
Ninth/Final Decrease:
On the 20th **pattern, knit 1, purl 2 stitches together, *slip 2, purl 2 stitches together, purl 2 stitches together; *repeat until the last slip 2, then purl 2 stitches together, and knit 2 stitches together for selvedge stitch.
The following Row 3, using color A, knit 1, *the first part of the cable, the second part of the cable; *repeat, end the row with knit 1.
Complete Row 4 as usual but bind off stitches as you go.

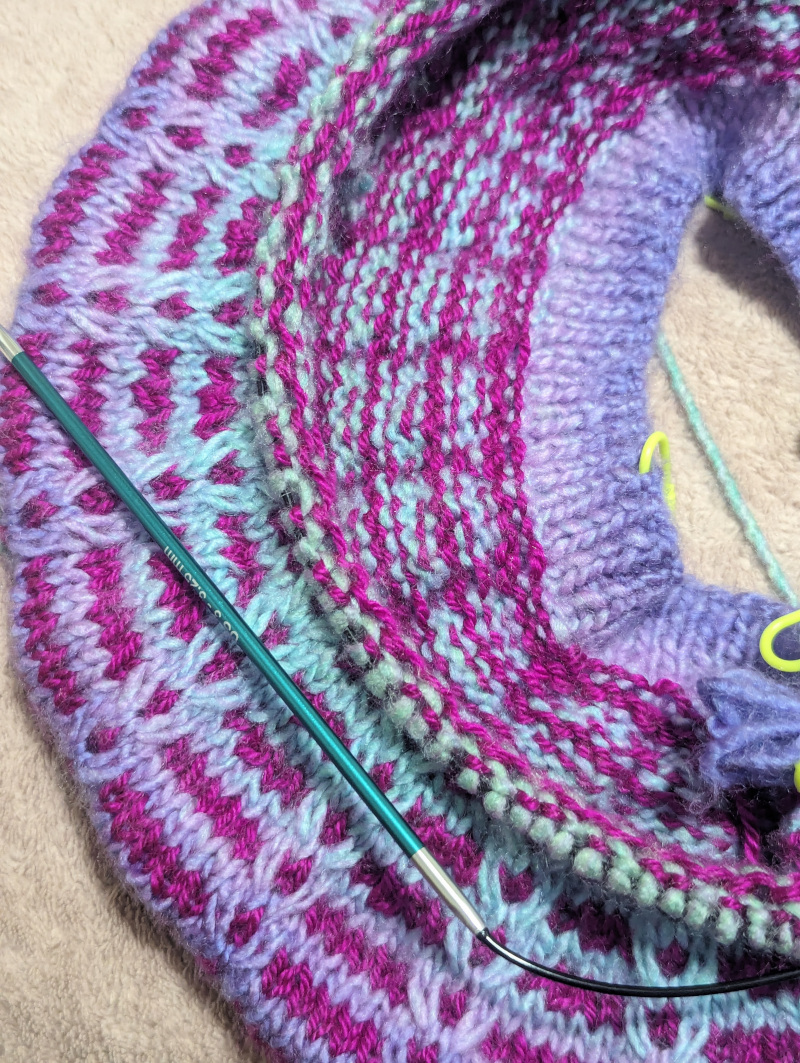
Line up your selvedge stitches and mattress stitch the edges from the right side only!
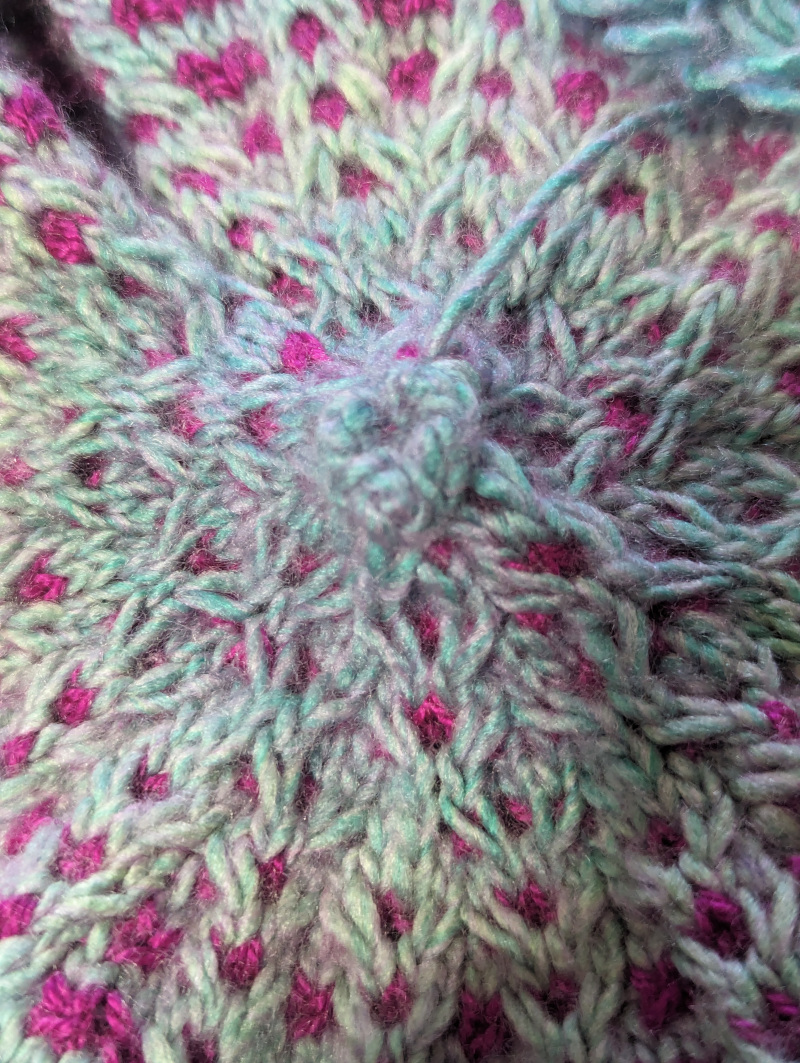
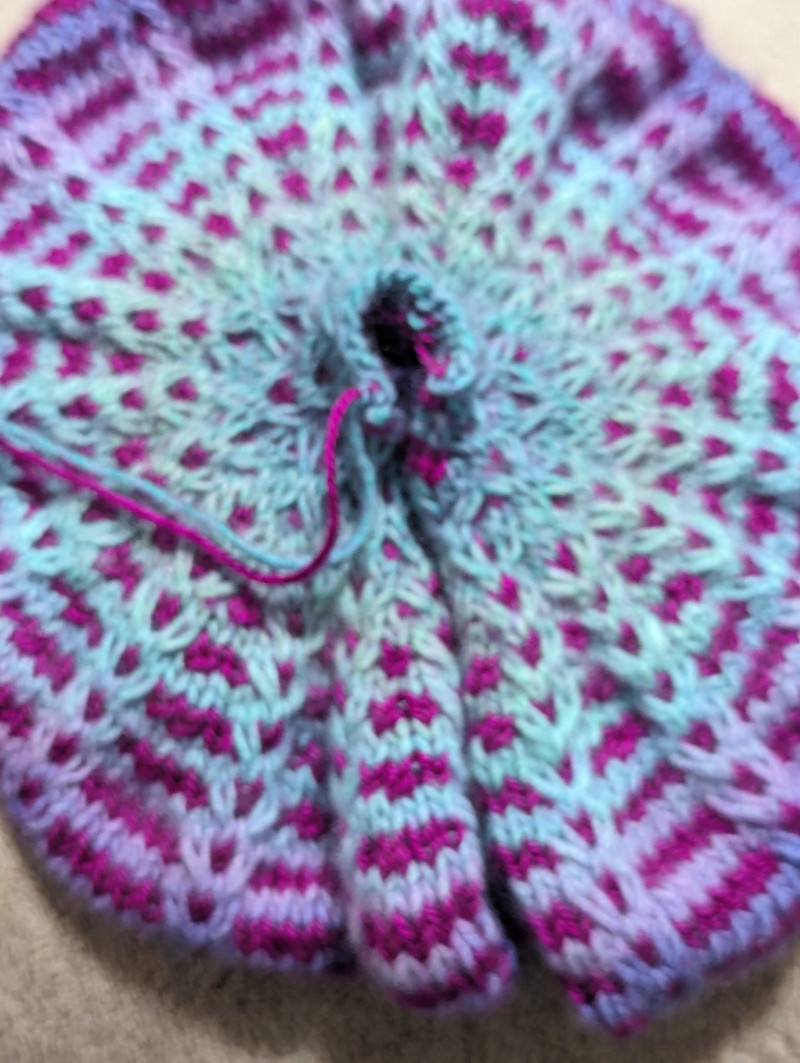
Finishing Touches
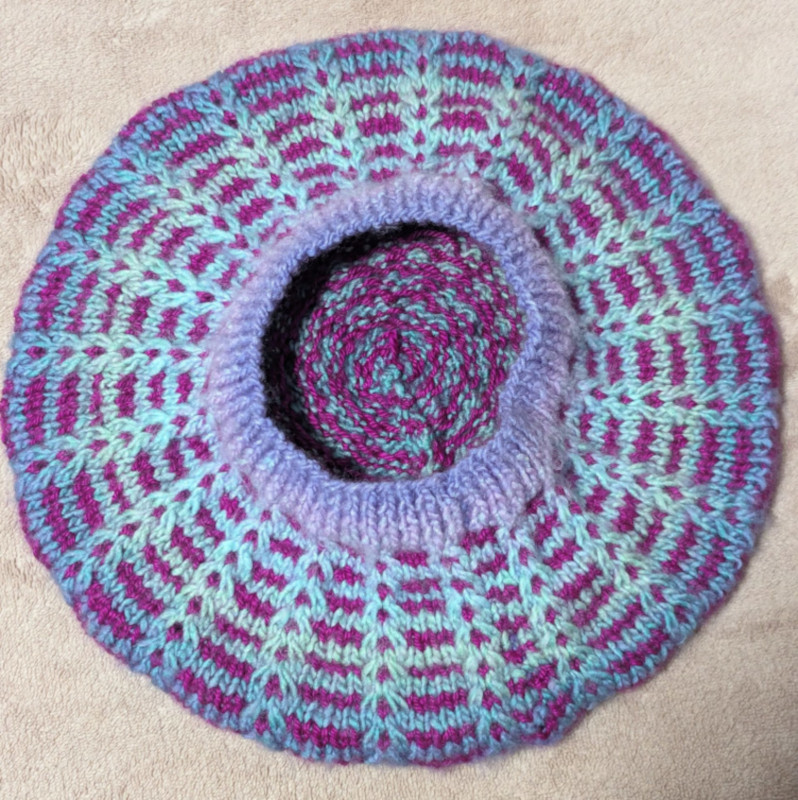
Start at the ribbing and move upwards. Mattress stitch the sides of the hat together; end by tightening the 'tube' at the center top.
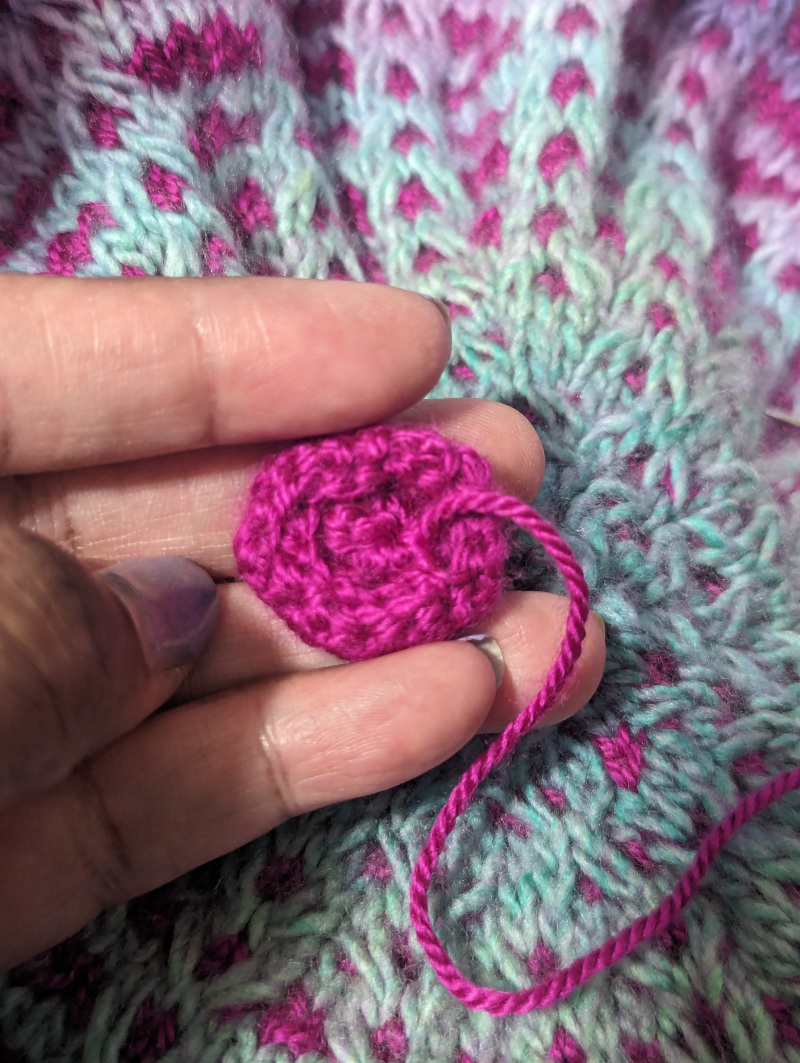
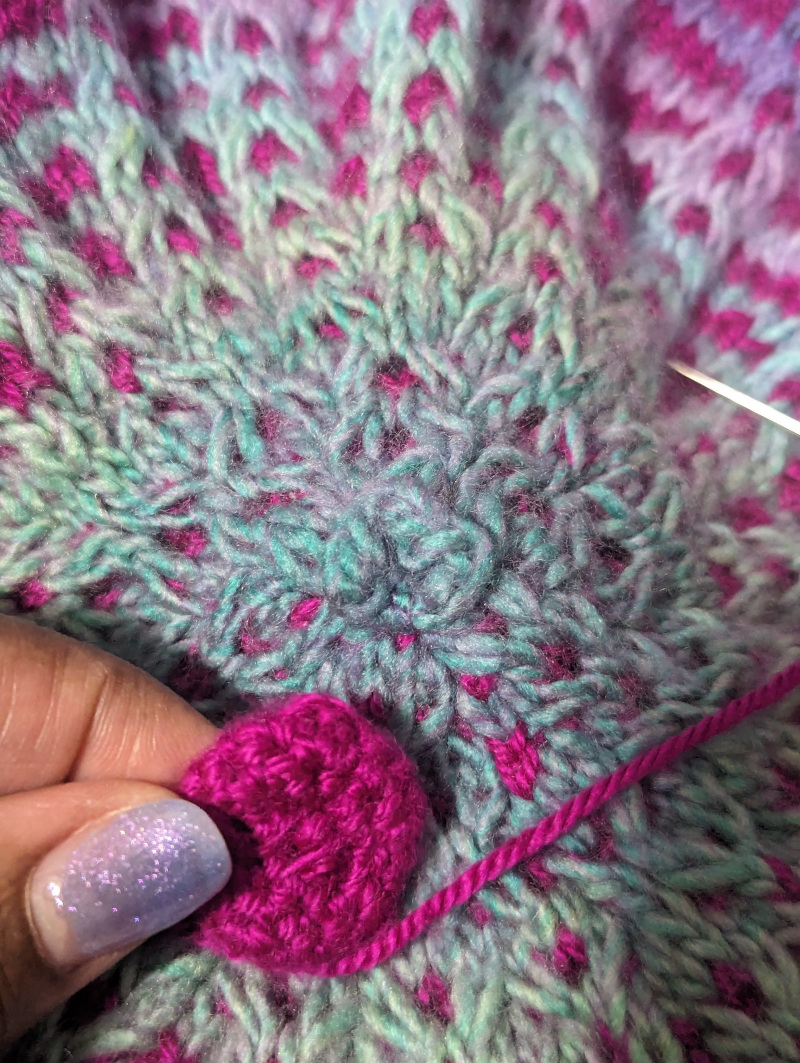
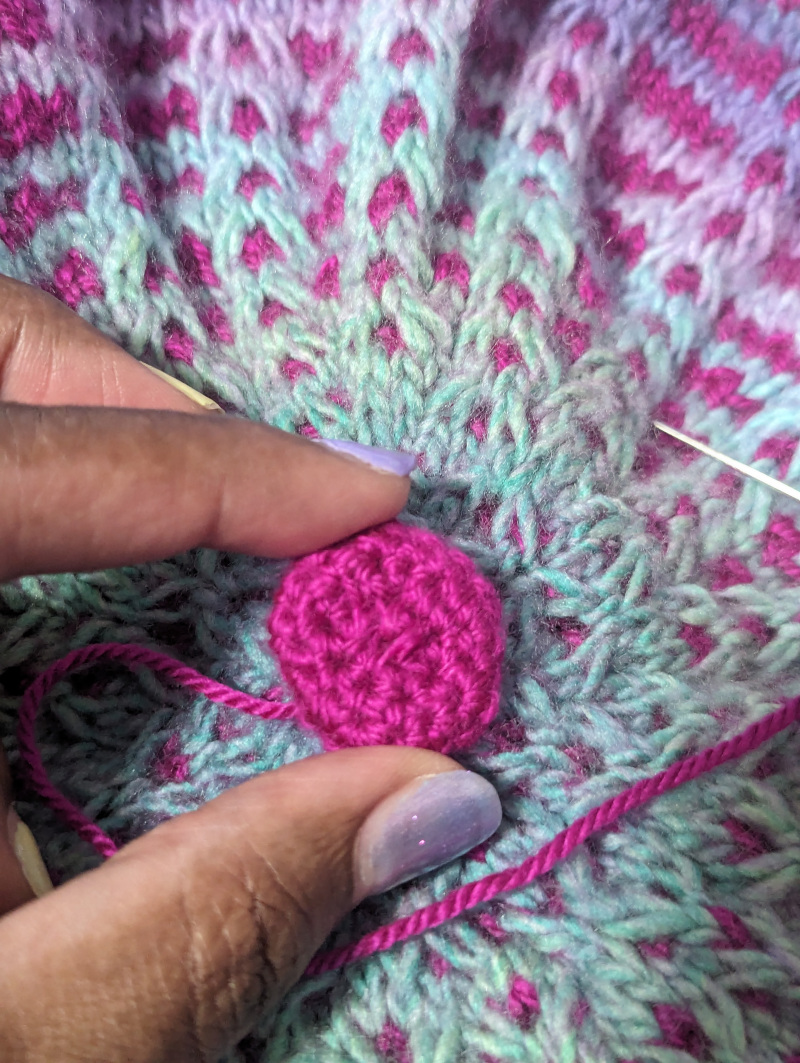
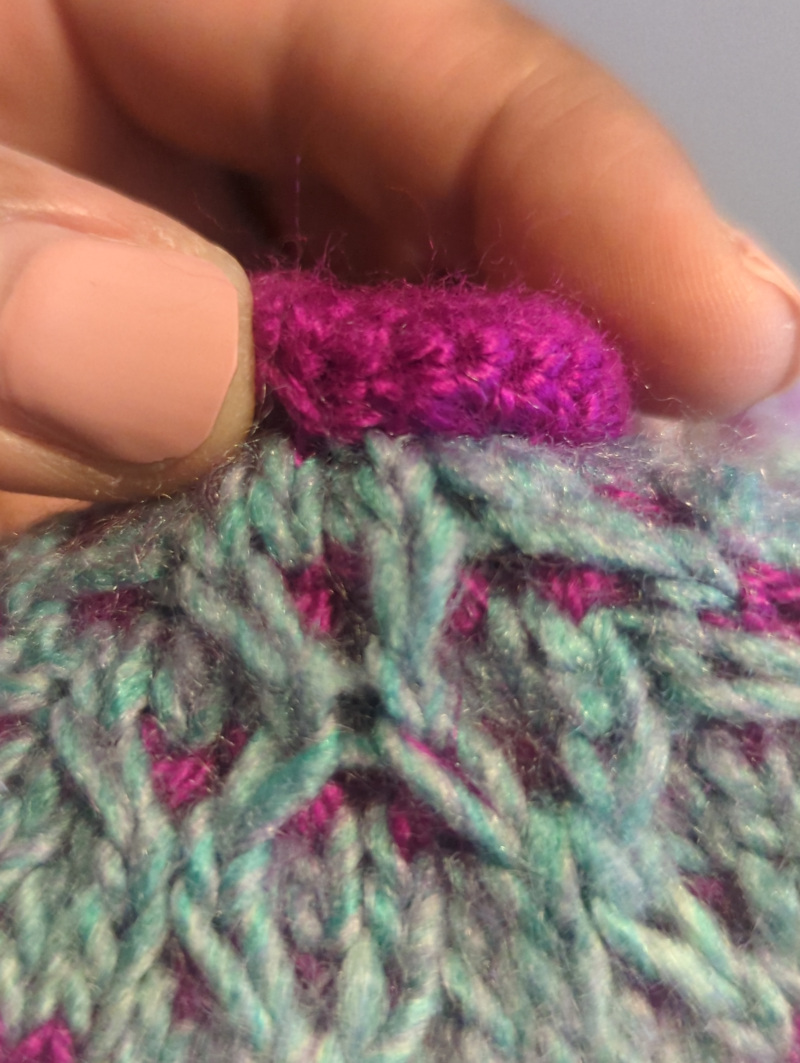
The Button
Using color B, crochet a bottle cap-shaped button that will fit tightly over the tube at the top. Sew the button directly over the center of the tube, make sure that the sides are stitched under to make the button more defined and hide the stitches.
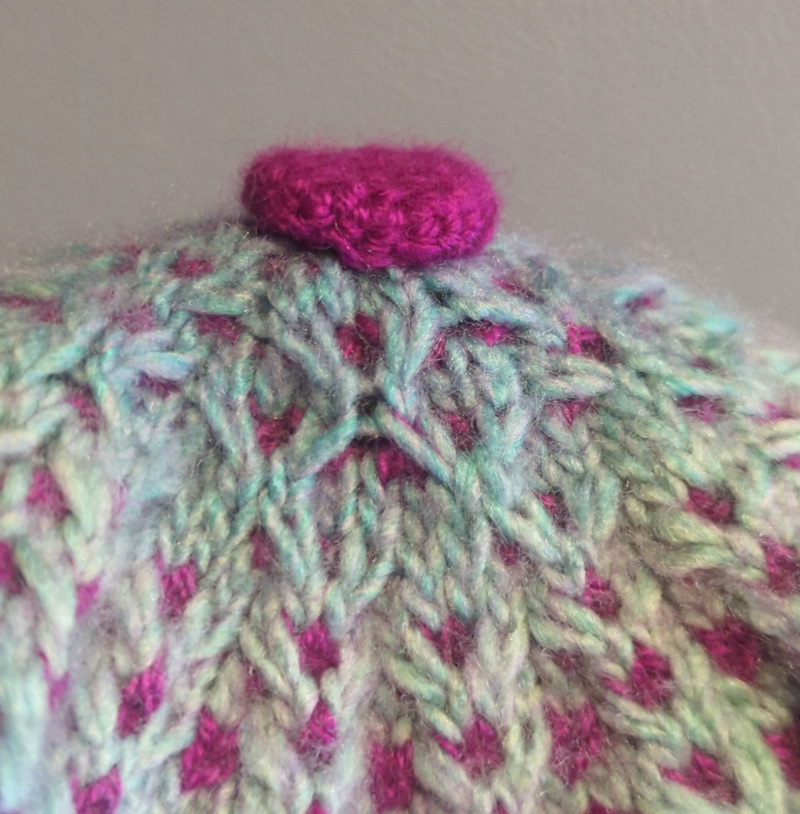
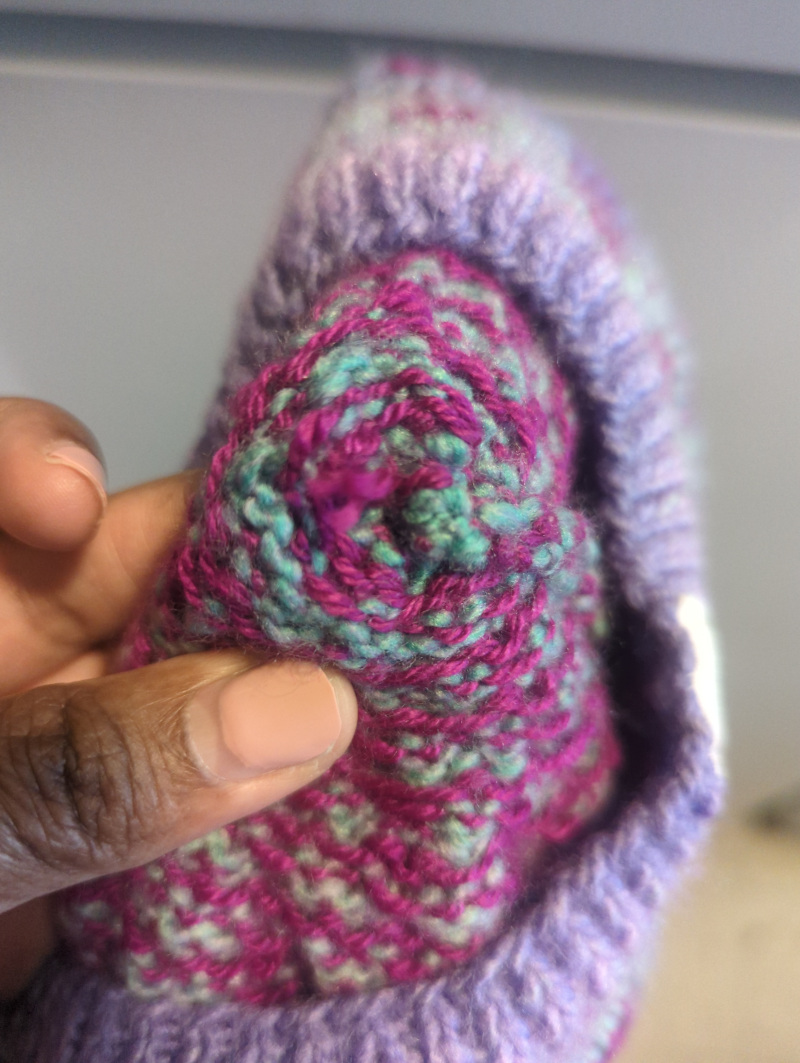
Now, your beret is complete. Enjoy!
Please, don’t hesitate to share the pics of your own finished Melody Mosaic Knit Beret with us on social media. You can also send me a link.
Note: The yarns used for this iteration of the Melody Mosaic Knit Beret are Lion Brand Ferris Wheel (in cotton candy) and Ice Yarns Dora (in orchid).
Sign up for updates from Andrea Crochets and Knits and be the first to know about new patterns, tips, and cozy creations. Get inspiration for your next project—delivered right to your inbox!